コンテンツの読み込みに時間がかかっています
webkit2pngを利用してMacのサイトのキャプチャを簡単に
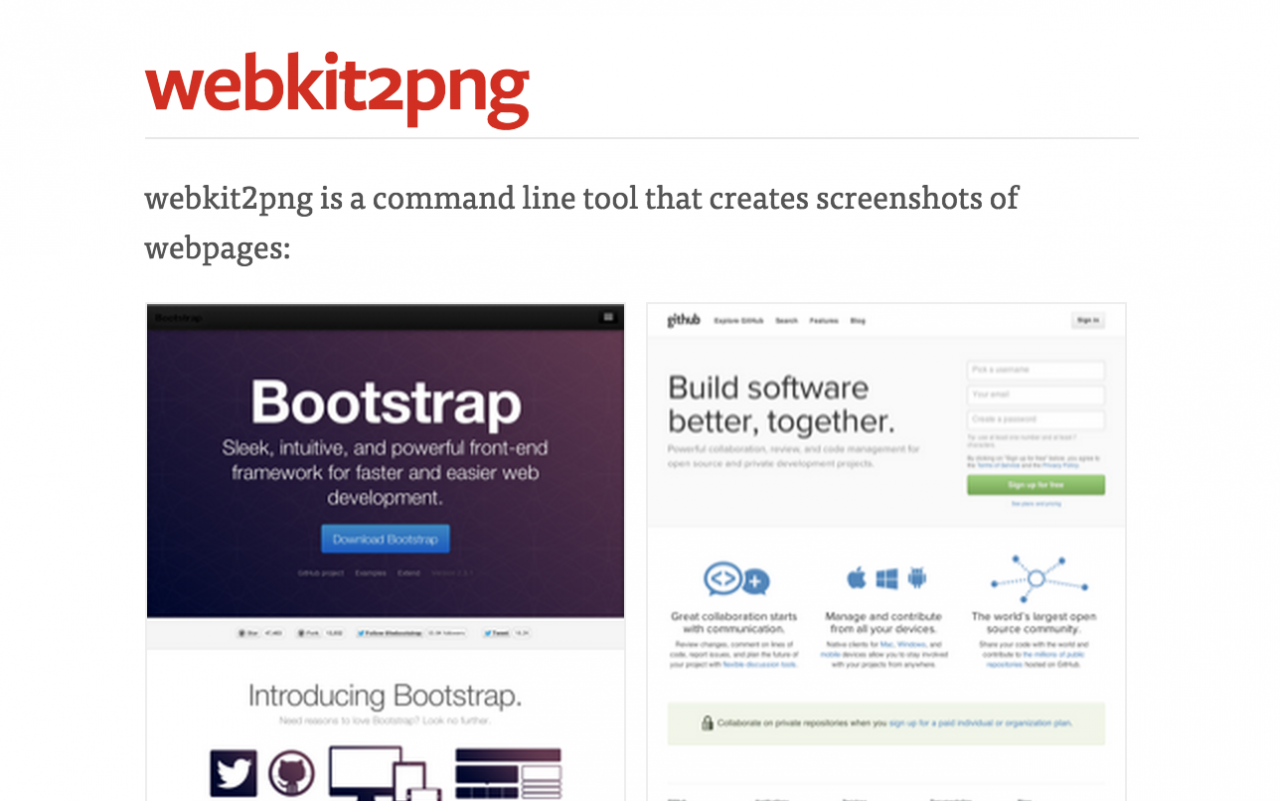

Paparazzi! ってのを使えば、長いページ全体をキャプチャする事ができて便利なのですが、うちのデザイナーが不安定で起動しなくなってしまって困っていたので、代替案で webkit2png を利用を紹介しておいた。せっかくなのでブログにも残しておく。
webkit2png は、ターミナルで使うキャプチャ用のプログラムなので、ちょっと難しく感じるかもしれないけど。
webkit2png のインストール
brew がインストールされている必要があるようなので、まずは以下をターミナルで実行します。途中、管理者のパスワードが求められるので、入力する必要がありますが、それ以外は待ってれば大丈夫です。
ruby -e "$(curl -fsSL https://raw.githubusercontent.com/Homebrew/install/master/install)"
上記が完了したら
brew install webkit2png
で、インストールが完了します。
webkit2png の使い方
webkit2png --help と入力すると以下のような情報が表示されます。
Usage: webkit2png [options] [http://example.net/ ...]

Examples:
webkit2png http://google.com/            # screengrab google
webkit2png -W 1000 -H 1000 http://google.com/ # bigger screengrab of google
webkit2png -T http://google.com/         # just the thumbnail screengrab
webkit2png -TF http://google.com/        # just thumbnail and fullsize grab
webkit2png -o foo http://google.com/     # save images as "foo-thumb.png" etc
webkit2png -                             # screengrab urls from stdin
webkit2png /path/to/file.html            # screengrab local html file
webkit2png -h | less                     # full documentation

Options:
  --version             show program's version number and exit
  -h, --help            show this help message and exit

  Network Options:
    --timeout=TIMEOUT   page load timeout (default: 60)
    --user-agent=USER_AGENT
                        set user agent header
    --ignore-ssl-check  ignore SSL Certificate name mismatches

  Browser Window Options:
    -W WIDTH, --width=WIDTH
                        initial (and minimum) width of browser (default: 800)
    -H HEIGHT, --height=HEIGHT
                        initial (and minimum) height of browser (default: 600)
    -z ZOOM, --zoom=ZOOM
                        zoom level of browser, equivalent to "Zoom In" and
                        "Zoom Out" in "View" menu (default: 1.0)
    --selector=SELECTOR
                        CSS selector for a single element to capture (first
                        matching element will be used)

  Output size options:
    -F, --fullsize      only create fullsize screenshot
    -T, --thumb         only create thumbnail sreenshot
    -C, --clipped       only create clipped thumbnail screenshot
    --clipwidth=WIDTH   width of clipped thumbnail (default: 200)
    --clipheight=HEIGHT
                        height of clipped thumbnail (default: 150)
    -s SCALE, --scale=SCALE
                        scale factor for thumbnails (default: 0.25)

  Output filename options:
    -D DIR, --dir=DIR   directory to place images into
    -o NAME, --filename=NAME
                        save images as NAME-full.png,NAME-thumb.png etc
    -m, --md5           use md5 hash for filename (like del.icio.us)
    -d, --datestamp     include date in filename

  Web page functionality:
    --delay=DELAY       delay between page load finishing and screenshot
    --js=JS             JavaScript to execute when the window finishes
                        loading(example: --js='document.bgColor="red";'). If
                        you need to wait for asynchronous code to finish
                        before capturing the screenshot, call
                        webkit2png.stop() before the async code runs, then
                        webkit2png.start() to capture the image.
    --no-images         don't load images
    --no-js             disable JavaScript support
    --transparent       render output on a transparent background (requires a
                        web page with a transparent background)
Examples: にあるように使えますのでー。